- As seen on
-

-

-

-


Everyone knows that new weatherstripping can tighten up the fit and sealing of a vehicle’s doors, windows and trunk (and more) to make the overall driving experience quieter, cleaner and more comfortable. What fewer people seem to recognize is just how much extra noise (and extra fumes!) we are bombarded with during every day driving. Drivers seem to ignore the fact that the seals on the body of the car can slowly age to the point of total deterioration as a car gets older, and when you’re dealing with classic cars, it is pretty much guaranteed that you’ll need new weatherstripping at some point in the restoration process.
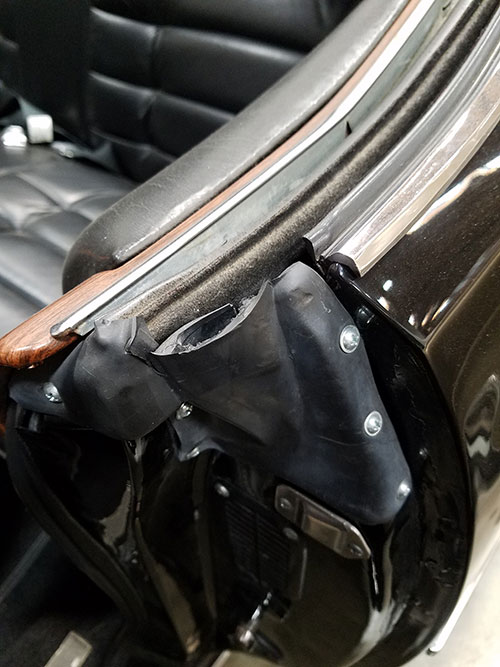
The seals around doors and doorframes can crack with age or may have holes worn through from use. Over time, weatherstripping ages and gets harder simply through exposure to the atmosphere. If the rubber has lost its pliability and can no longer spring back when you squeeze it between your fingers, it can’t make a proper seal around your doors either, and replacement is in order. You don’t have to wait until you can see the pavement through the door seams to install new weatherstripping though! Thankfully, installing new weatherstripping is an affordable upgrade you can perform at home.
#1. Too much = too tight
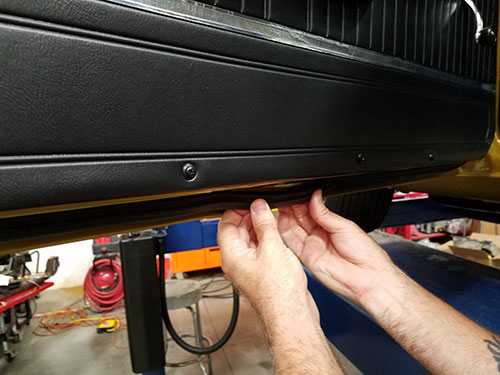
Although new weatherstripping needs to fit tightly and securely everywhere it is installed on a vehicle, you don’t want to over-do it by using too much, using multiple layers or using materials that are too thick for the job. This can make your doors and windows very difficult to close. Instead, use only the recommended amount of weatherstripping that is designed and made for your vehicle’s specific application. Individual weatherstripping components as well as complete weatherstripping kits are available for almost all popular GM classics and they are accurately designed to ensure correct fit and easy installation on your specific vehicle.
#2. Maybe the old weatherstripping is still usable
If you think your old weatherstripping may be in pretty good shape but it is letting air or water get through in just one or two very small areas, try applying extra weatherstripping adhesive under the loose portions, or use a clear silicone sealer to seal the specific areas that leak. If the old rubber still has some pliability, it can still probably make a good, if somewhat temporary, seal.
#3. Match the new to the old
When installing new weatherstripping, first check to see whether the new weatherstripping is exactly the same as the old seals you’re replacing. The new weatherstripping should have the exact same shape, thickness, holes, channels, and rubber studs on the inside as the original parts you are removing. Obviously, if the new seal is lacking the exact same dimensions and specs, it won’t install or seal correctly.
#4. Plan for some seal shrinkage
Most new weatherstripping materials will shrink a bit and flatten into place after the glue sets up and the surfaces are opened and closed with pressure. You can account for this shrinkage by leaving an extra 1/4 inch or 1/2 inch of seal material (that can be trimmed later) so that you will have a perfect seal after the rubber flattens into place through use.
#5. Start down low
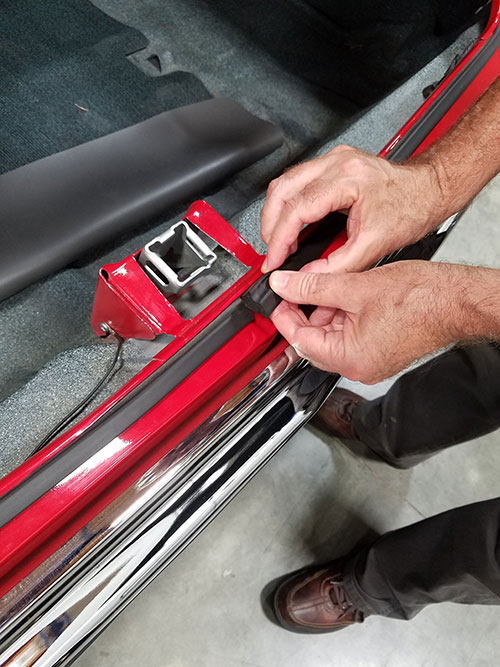
When installing new weatherstripping, begin the installation and gluing process in the center of the lowest portion of each seal, as that is where splashed-up water will most likely gather before it drains out and exits the vehicle. This would be the bottom-center location for inner doors, windows and windshields, and around the striker plate in the trunk. Closing the seam with proper-fitting weatherstripping in these areas helps ensure that any water trapped inside the seals or in the doorjambs in that area will drain away properly and not promote rust situations in the same area later on.

#1. The seal material must lay flat or your doors and windows won’t close properly when the weatherstripping is bunched up or layered in any one spot.
#2. If your existing weatherstripping is still somewhat pliable it can probably still do its job temporarily.
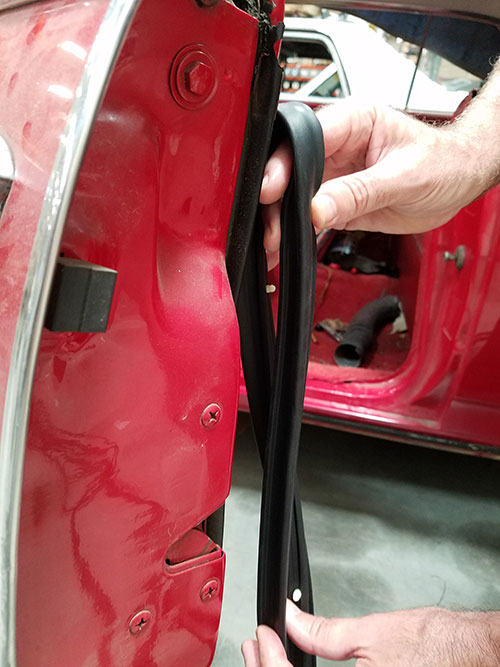
#3. The new weatherstripping must have the exact same dimensions and specs as the seals you remove or it won’t install or seal correctly.
#4. New weatherstripping materials will shrink a bit in length after the rubber flattens into place through use.
#5. Begin the installation and gluing process by starting in the center of the lowest portion of each seal as that is where moisture is most likely to collect.
Shop for restoration parts at www.opgi.com.
Click this link for weatherstripping. The example is for a 1970 Chevelle, but OPGI offers a complete weatherstrip selection for all years and models.
Follow us on our OPGI Facebook page. Click here and Like us!
Ramiro Davila
June 14, 2018 at 1:49 pmWhere can i get some for my truck
Natallie Loukas
June 18, 2018 at 3:46 pmSorry Ramiro, OPGI does not sell truck parts. We would recommend a search through Hemmings.com. Good luck with your project.